From Box to Four Zones in an Afternoon: The Complete Installation Walkthrough
Unbox to first schedule in one afternoon — gateway pairing, BSP fittings, zone plumbing, app setup and the first-week check routine for a 4-zone timer.
A complete four-zone installation — unboxing, gateway pairing, tap fitting, zone plumbing, app schedules and a first-week verification routine — takes one honest afternoon, plus five minutes a day for the first week. This walkthrough covers that whole journey; for the tap-splitting hardware deep-dive, see our fittings guide.
Check the box before you touch the tap
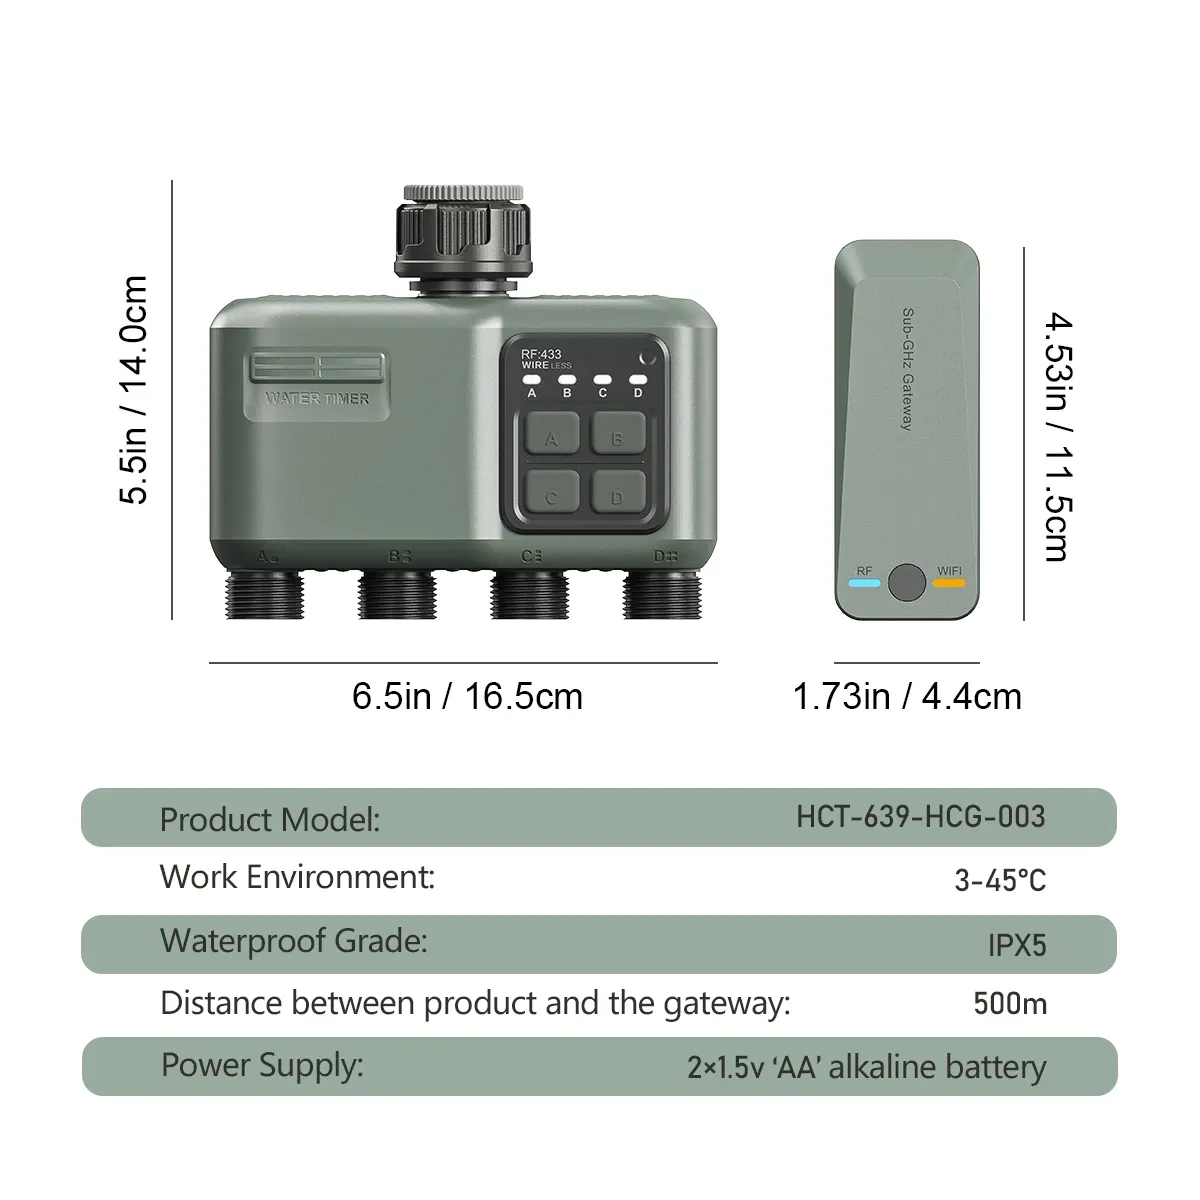
Lay everything out first: the four-zone timer, the indoor WiFi gateway with its power lead, three BSP tap adaptors (1/2”, 3/4” and 1”) with their washers, and the quick-start guide. Add two AA alkaline batteries and your phone and that is the complete toolkit — no wrench, no PTFE tape. The full box list and hardware ratings are on the specification page. Thirty seconds of checking now beats discovering a missing washer while kneeling at the tap.
Step 1: pair the gateway indoors — only the gateway touches WiFi (15 minutes)
The timer itself has no WiFi radio at all; the palm-sized gateway is the only part of the system that joins your network, and it does so once, indoors, on 2.4GHz. Plug it in, add it in the Smart Life app, then give it a permanent home on a garden-side windowsill — close enough to the router for solid WiFi, facing the garden for the cleanest radio path to the tap. The most common placement mistake is treating the gateway like a router accessory and burying it in a hallway cupboard on the far side of the house. How the two radios divide the work — and exactly what keeps running when your broadband doesn’t — is explained on the gateway and app page.
Step 2: fit the timer to the tap (15 minutes)
Measure your tap thread’s outside diameter before you screw anything on: roughly 26.5mm means 3/4” BSP (the UK standard), 21mm means 1/2”, 33.3mm means 1”. Pick the matching adaptor from the box — the BSP size guide has the full measure-and-match table if your tap looks unusual. Then the two rules that prevent nearly every leak: check the washer is seated in the collar, and tighten by hand only. Washer-sealed hose threads need no tape, and tools crack plastic collars — the forums are full of cross-threading regret. Finally, open the tap fully and leave it open: from now on the timer’s valves do the switching, not the tap.
Step 3: connect your zones — the quick version
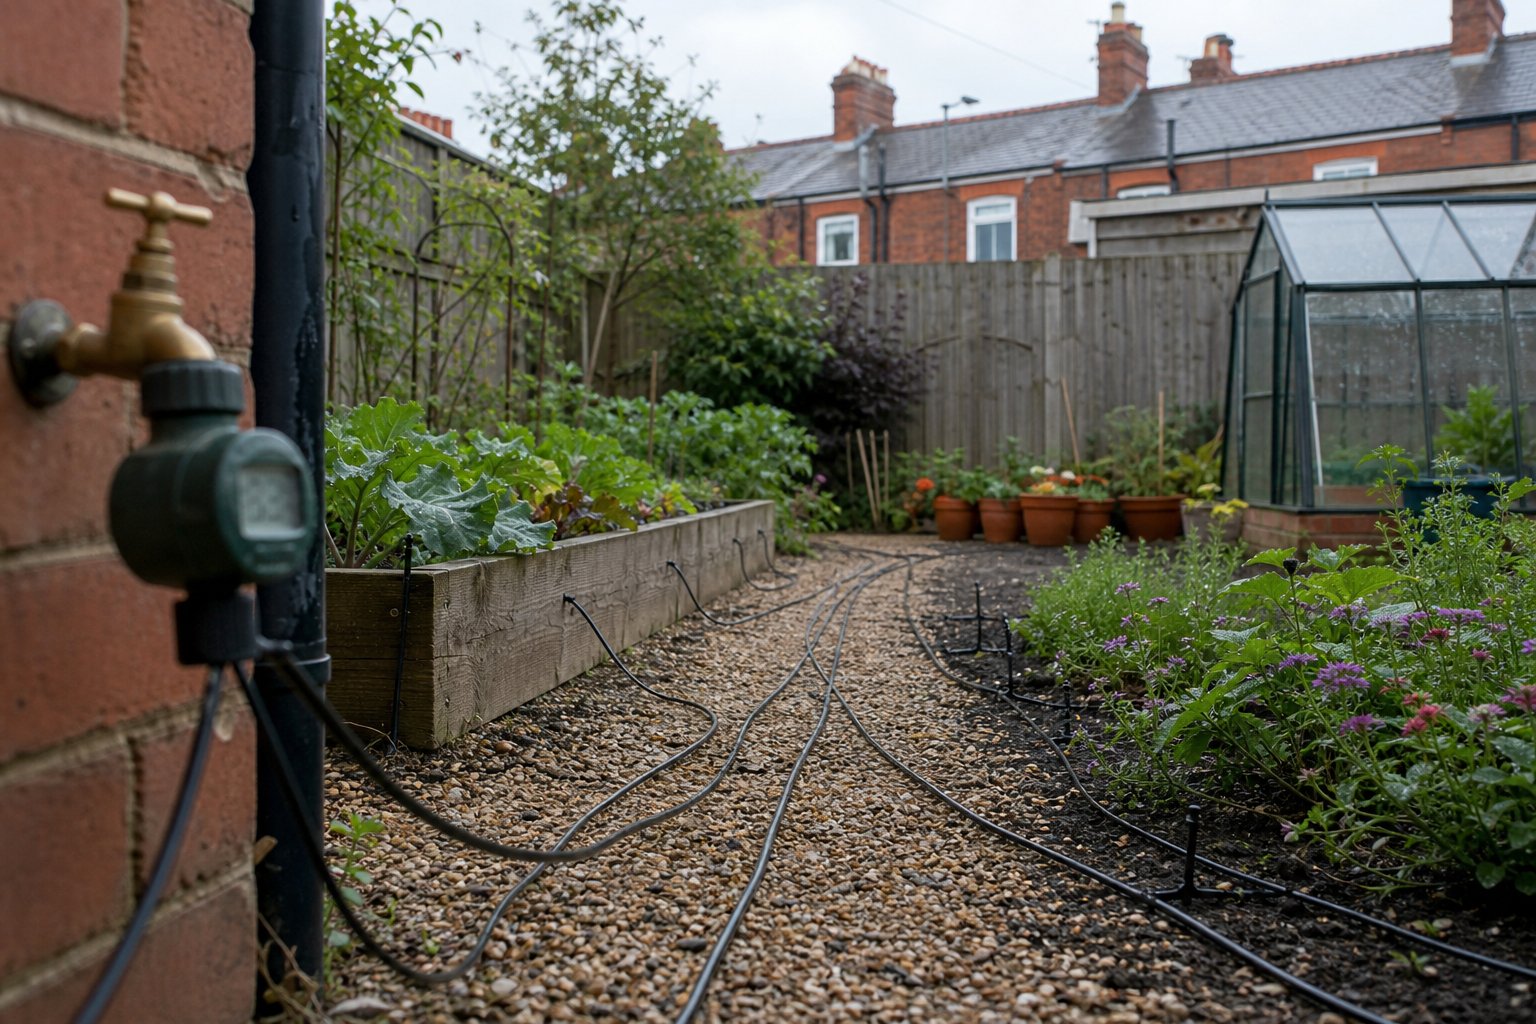
Assign outlets by thirst, not geography: the thirstiest area (usually pots) on zone 1, then beds, greenhouse, border. Label each line at both ends now; renaming mystery hoses in July is miserable. If you are weighing manifolds, drip line against soaker hose, or wondering what four open valves do to your pressure, that is an article of its own — the tap-splitting deep dive covers the fittings, the flow sharing and why sequential scheduling beats simultaneous. The short version for today: give each zone its own start time, back to back, rather than opening everything at 6am sharp.
Step 4: app setup that pays off later
Two decisions here outlive the afternoon:
- Name zones for voice, not for plumbing. “Front pots”, “Veg beds”, “Greenhouse”, “Back border” — short, distinct, pronounceable. If you later link the app to a voice assistant, those names become the commands; “Zone 2” is how the wrong bed gets watered.
- Start every schedule at dawn, sequenced. A sensible opening set: pots daily at 06:00 for 5–8 minutes; veg beds every other day at 06:20 for 15–20 minutes; greenhouse daily at 06:45, short; border twice a week at 07:00 for a longer soak. These are starting values, not gospel — week one will correct them.
Save each schedule and watch it sync. Schedules are stored on the timer itself, so once saved they run even with the internet down — but “created” and “saved” are different taps on a screen, and the difference is a dry morning.
Step 5: the first-week verification protocol
The install ends when the system has earned trust, not when the app shows four zones online. Our routine:
- Daily, one minute: walk the joints — tap collar, adaptor, each outlet — looking for weeps.
- Once in the week: open and close every zone from the app while standing at the tap, confirming the radio path and valve action together. If zones respond in the garden but not from indoors, move the gateway before blaming the timer; through-wall behaviour is documented on the test data page — see the RF signal test rather than guessing.
- Once in the week: run each zone from the manual buttons on the unit — the no-phone fallback worth rehearsing.
- Day 1 and day 7: note the battery level in the app. Two AAs are the whole power budget; a baseline now tells you what a season will cost.
- After the first real dawn run: check the soil is wet where you think it is. Dripper stakes migrate; water follows gravity, not intentions.
The five first-day mistakes we see constantly
| Mistake | Symptom | Fix |
|---|---|---|
| Washer missing or unseated | Steady drip at the collar | Reseat or replace the washer — not tape |
| Wrong BSP adaptor forced on | Stiff after one turn | Stop, measure the thread, match it in the size guide |
| Gateway parked far from the garden side | App control drops when you are at the tap | Move it to a garden-side windowsill |
| Schedule created but never saved | Dry beds, no error shown | Save, then watch one scheduled run happen |
| Tap turned off after fitting | Nothing flows at all | The tap stays open — the timer is the switch now |
The honest time budget
| Task | Time |
|---|---|
| Unbox and parts check | 10 min |
| Gateway pairing (once ever) | 15 min |
| Thread check and tap fitting | 15 min |
| Zone plumbing | 45–90 min — the real variable |
| App naming and schedules | 20 min |
| Full manual test of four zones | 15 min |
Call it two to two-and-three-quarter hours. If your drip lines are already laid, “an afternoon” is generous; if this is your first-ever drip build, take the higher number and add tea.
Reinstalling after winter storage rather than starting fresh? Skip steps 1 and 4 and follow the spring recommissioning checklist instead — it covers washers that perished in the shed and batteries that wintered badly. Anything this page hasn’t answered lands on the FAQ hub and gets folded back in.
Get 10% off your first order. Sign up on the product page and we’ll email a genuine 10% first-order code, plus a printable version of the first-week checklist above. No fake urgency — the code still works whenever your free afternoon actually arrives.
Ready to try Johgee Irrigation?
Shop Now â £84.99