Greenhouse Watering Before Sowing Season: Set Up Your Zone in February
Route a timed watering zone into your greenhouse in February — supply options, staging layouts, cold-weather caveats and a March commissioning checklist.
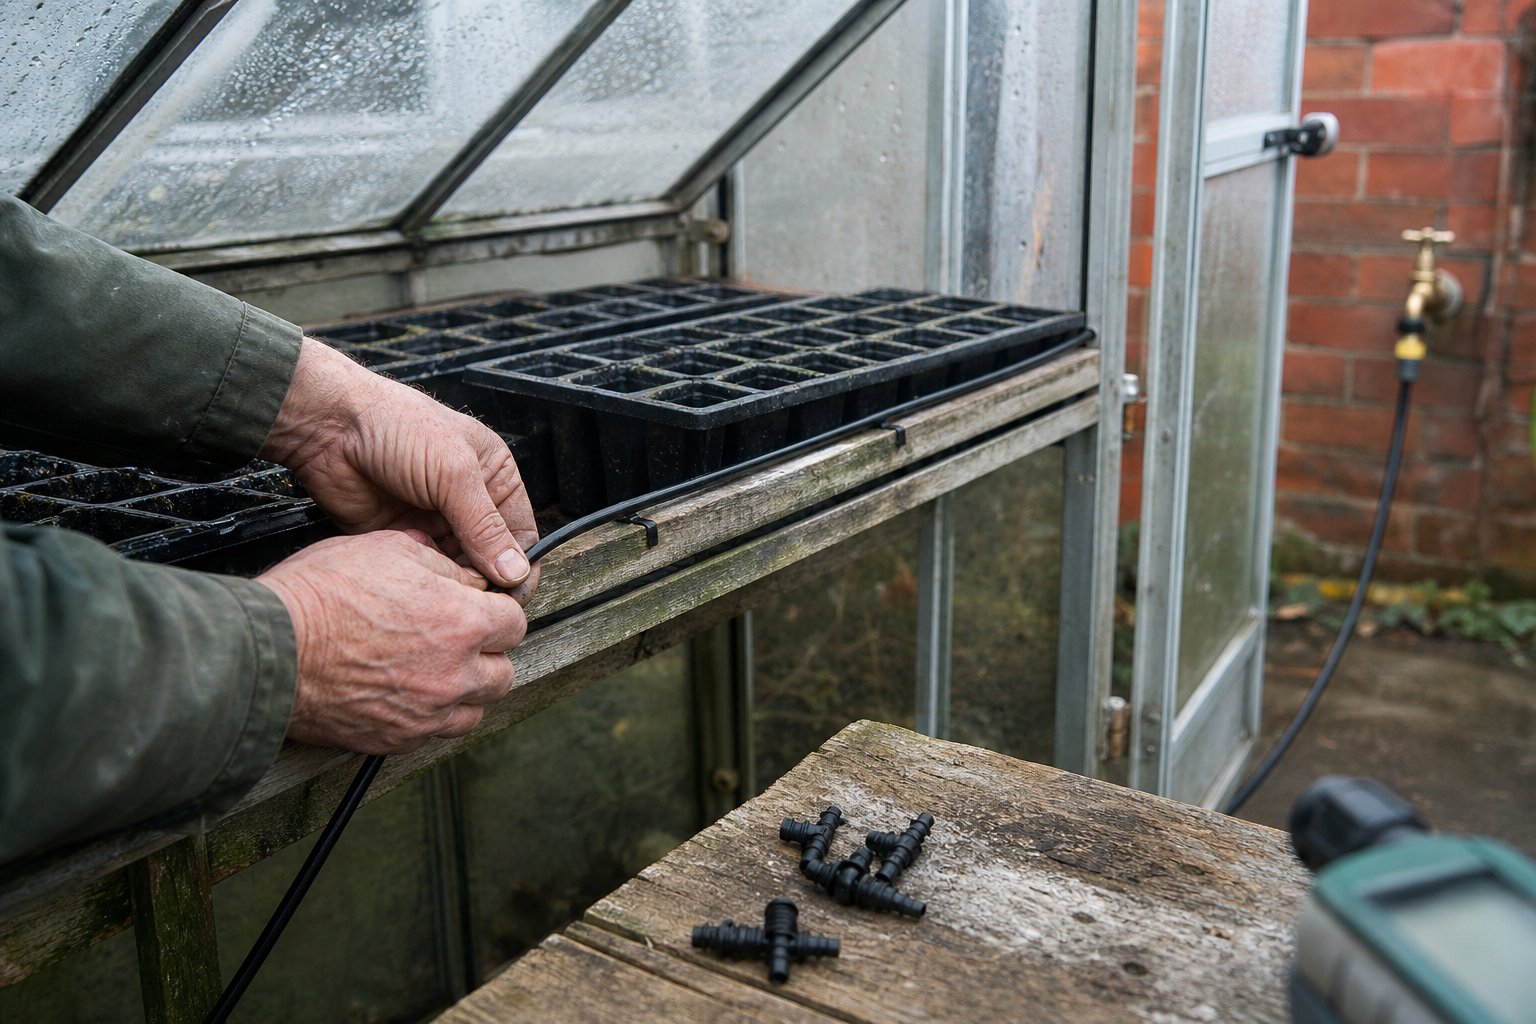
February is when the greenhouse year begins, and the right month to plumb its watering system: dedicate one timer zone to the greenhouse, route the supply line in through wall or door, lay drip or capillary matting along the staging, and commission the lot before March — while the watering it must do is still nearly nil.
One editorial line before the spanners come out: we’ll leave propagation technique to the horticulture press; this is the plumbing guide. What to sow, when and how warm is your gardening books’ department. How water gets to the staging automatically — that’s ours.
Why February, specifically
By long-standing convention in the UK gardening calendar, February is when greenhouses come back to life — heated propagators switch on and benches fill through March and April. Which makes February the last quiet month the structure will see: staging is clear, nothing tender is in the way, and a mistake costs you a wet floor rather than a lost bench of plants. Plumbing a greenhouse in May means working around things you’d rather not drip on; plumbing it in February means working in an empty shell, with weeks of slack to fix whatever you got wrong.
One zone of four: the design decision
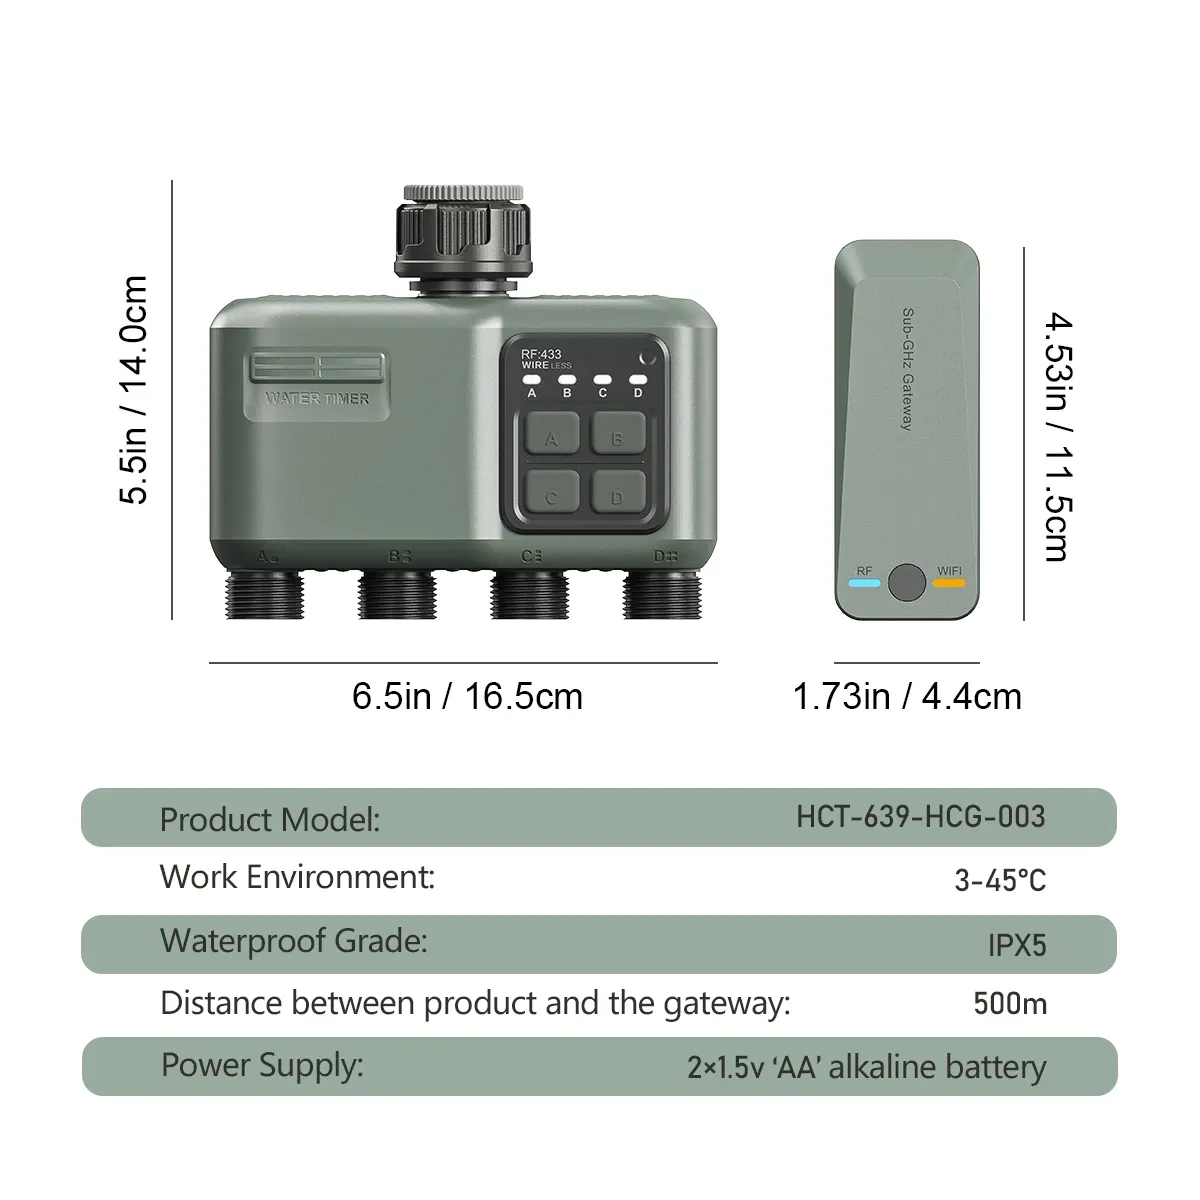
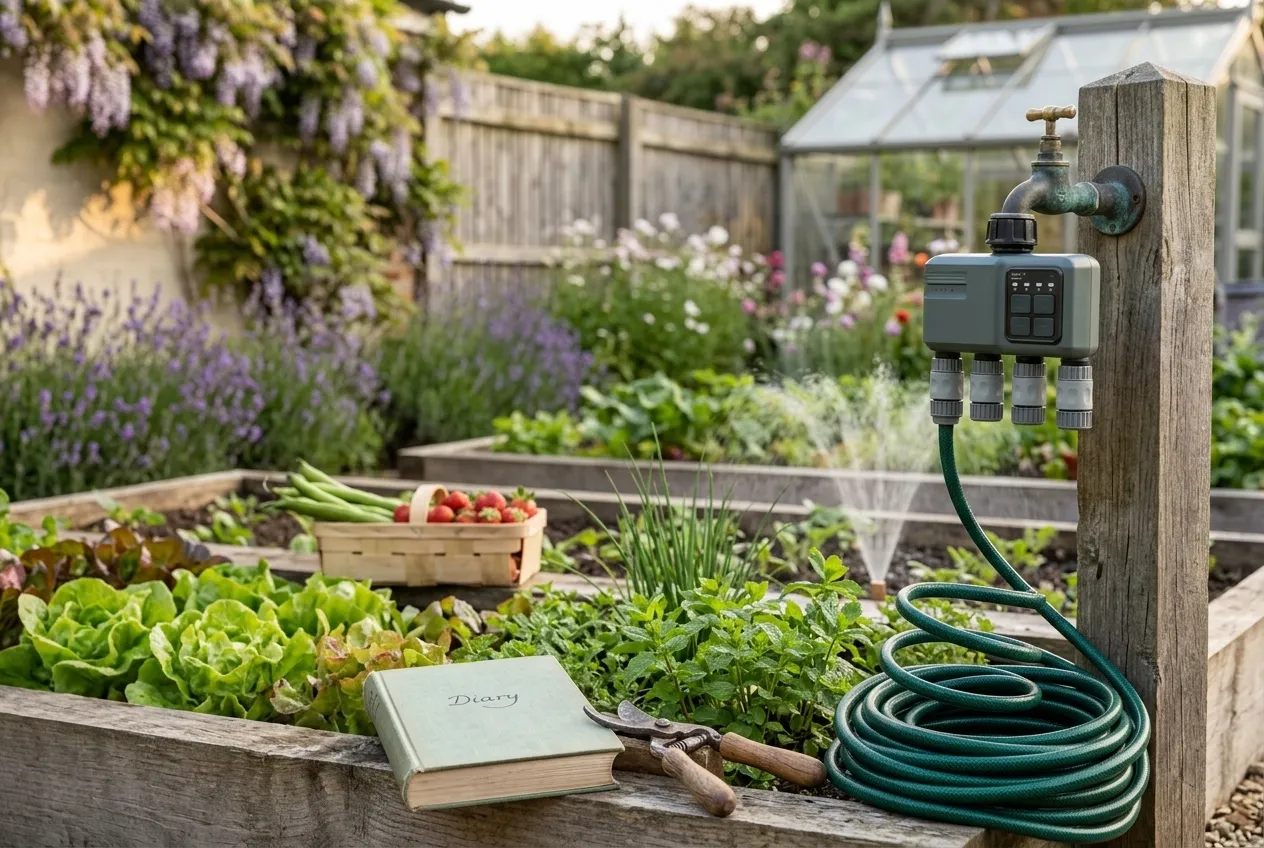
A greenhouse is the easiest case for zoning there is. It wants little-and-often watering that no outdoor bed shares, so it earns a dedicated zone with its own schedule while beds, pots and borders keep theirs (the four-zone specification). The timer stays at the tap; only a 13mm supply line travels to the greenhouse.
Getting that line inside is the one bit of actual craft:
- Through the wall or a louvre: the tidy route. Drill a clearance hole through timber cladding or a base panel — never glass — sleeve it, feed the line through and seal around it. Low on the shaded side keeps the run discreet and the hose out of summer sun.
- Through the door gap: the no-drill route. Run the line at floor level through the door’s corner. The risk is crushing — a door closed hard onto a pinched hose, or a trodden line against the threshold. Protect that last half-metre inside a slit length of old garden hose or conduit, and leave a generous loop so the door never pulls the run taut.
Either way, anchor the line just inside so a tug outdoors can’t drag your staging layout about.
Supply: three honest options
Mains tap, led in. The default and the best. Pressure and flow are never in question, and the greenhouse simply becomes the fourth spur off a split outside tap — fittings and manifold details are in our tap-splitting guide.
A water butt inside or beside the greenhouse, gravity only. Tempting — free water, right there — but gravity from a butt produces a small fraction of the pressure an electric valve timer needs, and we’d rather say so in February than process a return in April. The physics and the published minimum-pressure numbers are laid out in our low-pressure test article.
Butt plus a small pump. The workable version of option two: a pressure-switch pump between butt and timer gives the valve and the drippers the pressure they want, and rainwater suits greenhouse watering nicely. Budget the extra and follow the pump-chain detail in the same article.
Distributing water along the staging
Two system shapes dominate, and both run happily from one zone:
- A dripper per pot. The 13mm line runs the length of the staging; 4mm micro-tube tees off to an adjustable dripper in each pot or grow-bag. Precise, easy to audit by eye, and trivially extended as the bench fills. Its weakness is churn — greenhouse pots come and go weekly in spring, and each change means moving a dripper.
- Capillary matting fed by drip line. Matting laid on the staging, kept moist by a short drip line along its spine; pots stood on the mat draw water from below at their own pace. It shrugs off pot churn completely — add or remove pots without touching the plumbing. The trade-offs: the mat must sit dead level, algae will colonise it by midsummer (lift and rinse it now and then), and you’re watering the mat even where no pot stands.
Plenty of greenhouses run both — matting for the seed-tray end, drippers for the big pots — off the same zone. Whichever shape you pick, fit the usual pressure reducing valve and inline filter at the zone’s head.
February’s watering is nearly nothing — set the schedule accordingly
The honest agronomy note this article does need: in a cold February greenhouse, plants transpire very little and compost dries slowly, so overwatering is the real risk. Set the zone’s first programme deliberately short and infrequent — minutes, not tens of minutes — and grow the schedule with the season rather than starting at July settings in winter. The watering duration calculator includes a greenhouse planting profile and scales its answer by month, which makes a sane February starting point a ten-second job.
The timer in an unheated greenhouse
Three cold-weather truths, stated plainly. The unit’s IPX5 rating handles rain and hose splash, so weather itself is no obstacle. Alkaline AA batteries, though, deliver noticeably less capacity in the cold — winter is the season to start from fresh cells rather than September’s leftovers, and to glance at the app’s battery level weekly. And frost remains the real enemy: a valve body holding trapped water can be split by a hard freeze. Our standing advice is to commission the system now but leave the timer stored frost-free overnight during freezing spells, screwing it on for good once frost nights have passed — in much of the country that’s March. The plumbing doesn’t mind waiting; the valve minds ice.
The commissioning checklist
Run this in February, while failure is free — each item takes minutes:
- Fill and pressurise; walk the line checking every joint dry.
- Trigger the greenhouse zone manually; confirm every dripper drips (or the mat wets evenly, corner to corner).
- Check the timer opens and closes on schedule two days running.
- Confirm the door still shuts without pinching the line.
- Set the deliberately short February programme, and diary a review for late March.
Anything on that list that misbehaves has a fix on the FAQ hub — and if yours doesn’t, send it in and we’ll add it.
Get 10% off your first order. Join the email list on the product page for a genuine 10% first-order code for the Johgee 4-Zone timer. February planning, March installation, no deadlines — the code works when you’re ready.
Ready to try Johgee Irrigation?
Shop Now â £84.99