Drip Irrigation for Raised Beds: The Spring Setup Guide
How to run drip irrigation on raised beds â loop, serpentine or grid layouts by bed width, emitter spacing, one zone for four beds, and a timer schedule.
Raised beds dry out faster than open ground, which makes them the best case for drip irrigation on a timer: lay a loop, serpentine or grid of drip line matched to your bed width, space emitters 30cm apart, run three or four beds off one timed zone, and water little-and-often through the six-week establishment window. Here is the setup.
Why raised beds dry out first
Three factors compound. Drainage is the point of a raised bed â the freeboard and open base shed water quickly, which is wonderful in February and punishing in July. Exposure works against you too: an open-ground bed loses moisture from one surface, while a raised bed also warms and dries through its sides, timber or sleeper walls acting like radiator fins on a sunny day. And the soil volume is simply small â a 90cm bed holds a limited reservoir, so there is less buffer between âmoistâ and âwiltingâ than any border enjoys. The same properties that give raised beds their early warm-up and workability are the properties that make hand-watering them a twice-daily job by midsummer. Drip line converts that liability into precision: small volumes, delivered exactly where roots are, on a schedule.
Three layouts, chosen by bed width
| Bed width | Layout | How it runs |
|---|---|---|
| ~60cm | Single loop | One ring of drip line around the bed, 10â15cm in from the edges; the centre wicks from both sides. Simplest, fewest fittings. |
| ~90cm | Serpentine | One line snaking end to end in S-curves, rows about 30cm apart. The workhorse layout for the classic UK veg bed. |
| ~120cm | Grid | Parallel lines off a header pipe at one end, 30cm between lines. Most even coverage; most tee fittings. |
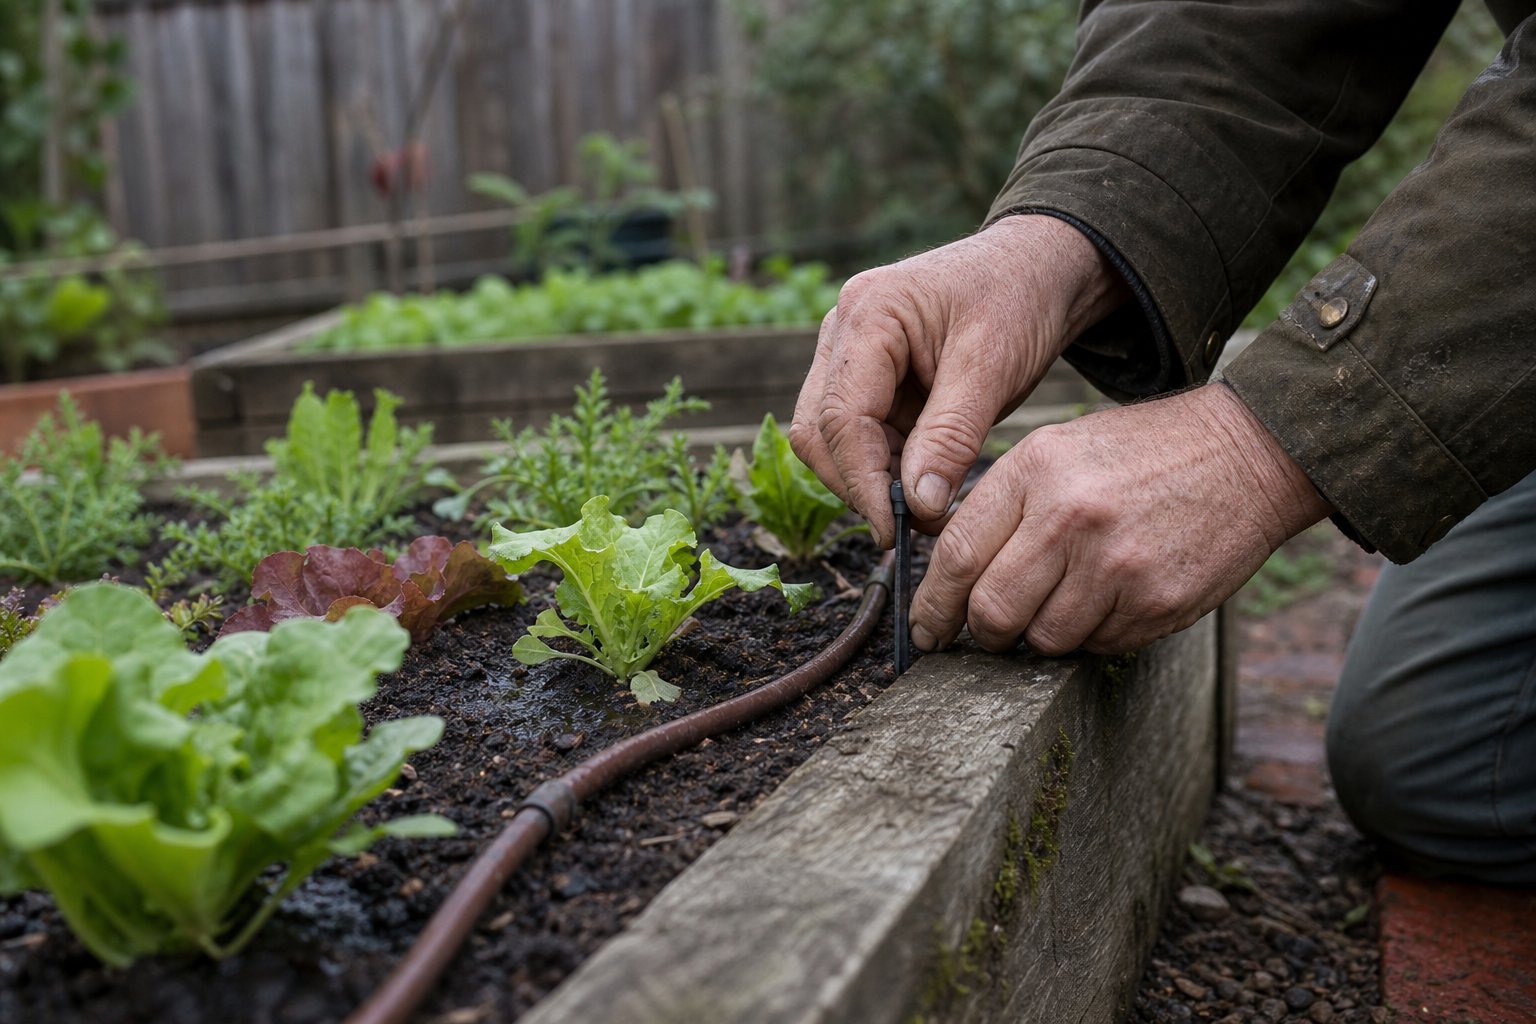
Two practical notes. Serpentine beats grid on narrower beds because every bend is a fitting you donât buy and a leak you canât have. And whatever the layout, pin the line down with ground staples every metre or so â spring soil work has a way of relocating unpinned drip line.
Emitter spacing: 30cm is the starting point, not the law
As a rule of thumb, start emitters at 30cm intervals and adjust by soil. Water spreads sideways as it soaks: in loamy or heavier mixes each emitter wets a bulb wide enough that 30cm spacing overlaps nicely. In sandy, fast-draining mixes the bulb is narrower and deeper, so close the spacing to around 20cm â this is the âsandy soils, tighter spacingâ adjustment, and it matters more in a raised bed than anywhere else because most bed mixes are deliberately free-draining. If a plant sits between wet bulbs and sulks, add a dripper rather than lengthening the whole run time; targeted fixes keep the zone efficient.
One zone, four beds: the manifold
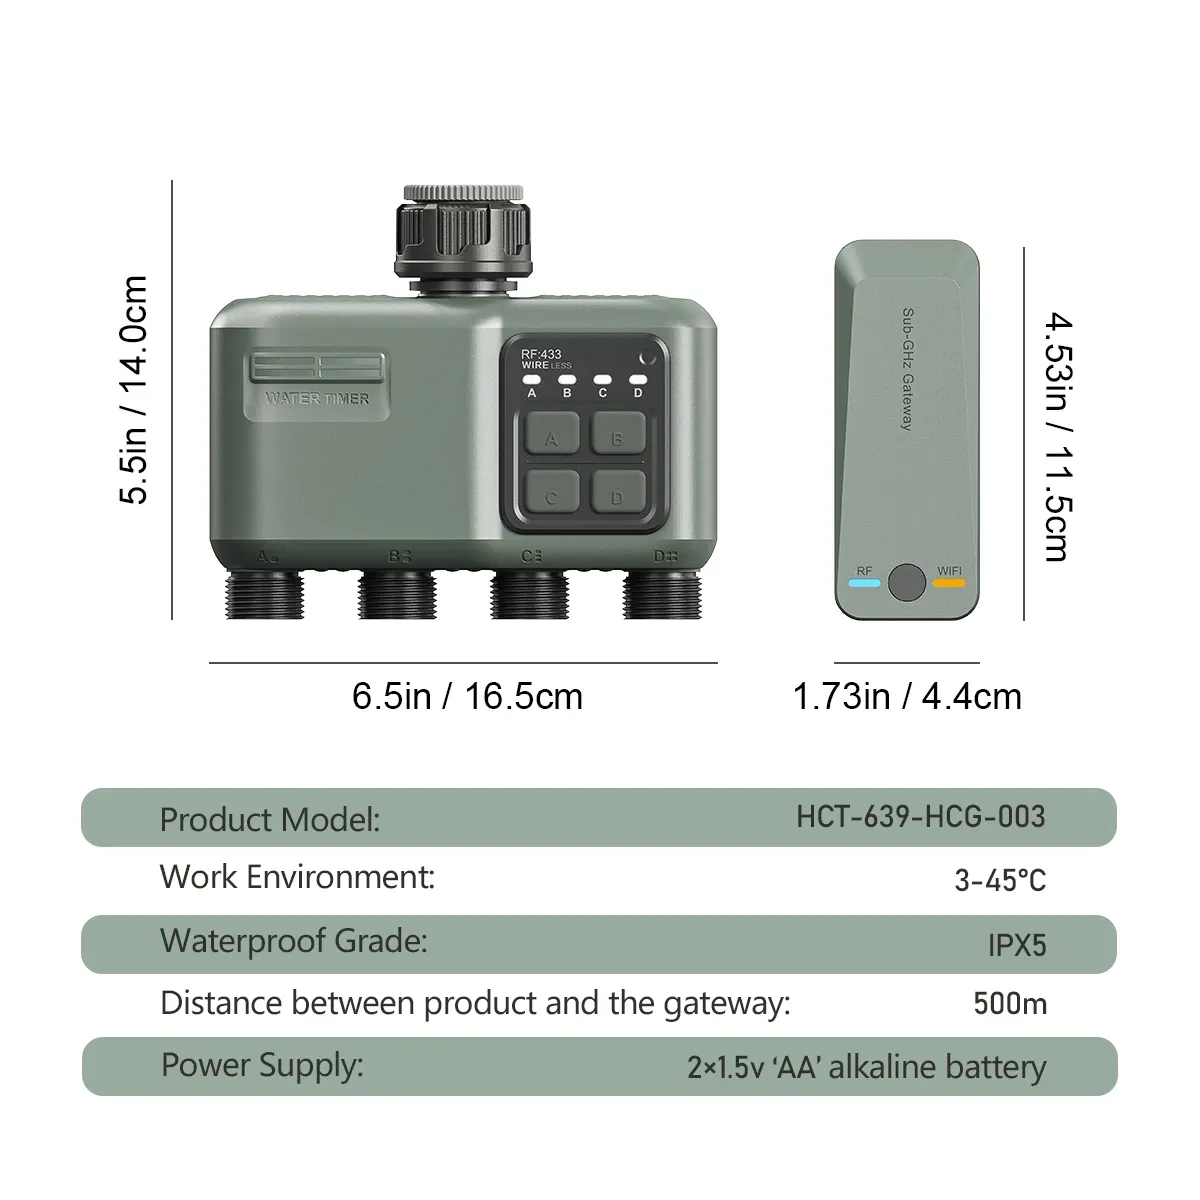
You do not need a zone per bed. A typical timed zone at UK tap pressures will feed three or four raised beds happily, because drip emitters meter themselves. The plumbing pattern: run 13mm supply pipe from the timer along the bed row, tee off to each bed, drop to the bedâs loop or serpentine, and support the drop with a stake at each corner it turns. At the far end of each bedâs line, fit a flush end-cap â once or twice a season, open it and let the line run clear for a minute, which evicts the grit that would otherwise retire your drippers early. If your beds outnumber one zoneâs comfortable load, that is exactly what the other three zones on a four-zone controller are for; and if one outside tap must serve hose duty too, the tap-splitting guide covers the fittings.
Mulch makes the drip line look twice as good
Drip and mulch are a compounding pair. A 5cm layer of bark, straw or compost over the laid line cuts surface evaporation dramatically, keeps the wetted bulbs wet between runs, and â a quiet bonus â shields the drip line from UV, which lengthens its life. Lay the line first, test it visibly for a week, then mulch over it once you trust every emitter. Mulching first and testing second is the order everyone regrets.
The water butt question, answered honestly
Raised beds and water butts feel like natural partners, but gravity alone will not drive this setup: a butt raised half a metre yields roughly 0.05 bar, and both valve timers and drip emitters want vastly more than that to work properly. The honest fix is a small pressure-switch pump between butt and timer â the full chain, with real pressure numbers and the pump-and-valve cooperation detail, is in our water butt low-pressure guide. Budget £40â£60 for the pump and the butt becomes a genuinely drought-proof supply rather than a slow disappointment.
Running beds at an allotment instead of at home? The plot-specific version â shared standpipes, no-WiFi scheduling, site watering rules â is on the allotment watering page.
The spring establishment schedule
For the first six weeks after sowing or transplanting, water little and often: short dawn runs on most days, keeping the top layer consistently moist while roots are shallow, then stretch toward longer, less frequent soaks as plants establish and root deeper. Cold March soil needs far less than the same bed in June, so start at the modest end and build. For minutes-per-zone tailored to your bed size, soil and local rainfall, use the watering calculator â its new 12-month planner mode sketches how the schedule should evolve from establishment through high summer, which saves the usual April guesswork.
Why this guide exists now
Raised beds keep climbing in UK home growing â they are where allotment waiting lists overflow to, and every spring brings a fresh cohort building their first pair of beds in a weekend. That first season is decided less by timber choice than by watering consistency, which is precisely the thing a £15 drip kit and a timed zone make automatic. Build the beds in March, lay the line the same weekend, and the summer argument about whose turn it is to water never starts.
Get 10% off your first order. Join the Johgee email list for a genuine 10% first-order code toward the four-zone timer that runs your beds â real discount, no pressure, and the drip line doesnât care when you redeem it.
Related reading: smart water timer installation.
Ready to try Johgee Irrigation?
Shop Now â ã84.99